
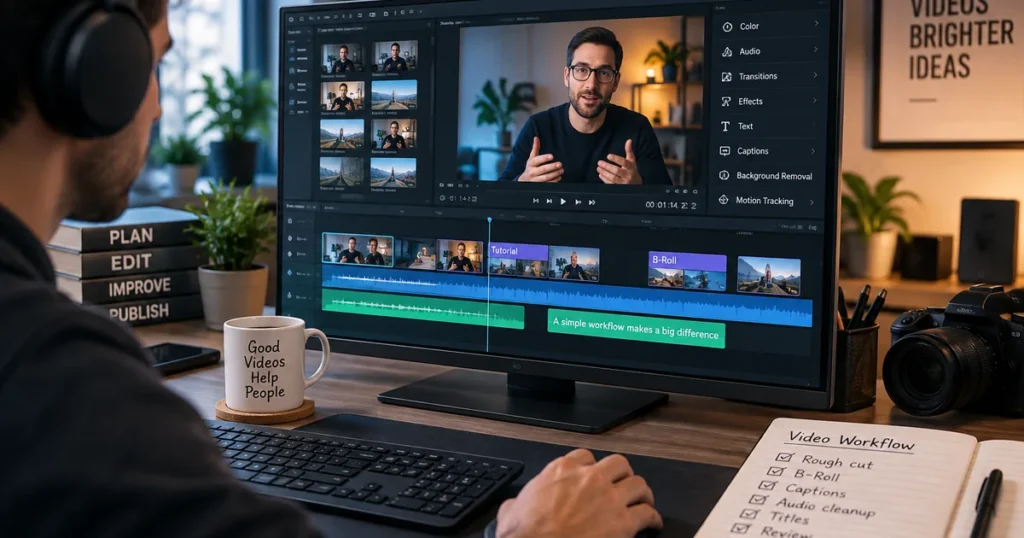
A talking-head video often starts with a fairly ordinary folder.
One long camera recording. A separate microphone track. A few screenshots. Maybe six pieces of B-roll, a logo and some background music.
The hard part is rarely importing those files.
It is turning them into something that feels intentional without spending half a day polishing decisions the viewer will never notice.
A useful desktop workflow keeps the sequence simple: structure first, cleanup second, decoration last.
Quick take: For a typical tutorial, interview or client video, keep the sequence simple.
- organize the footage;
- build the rough cut;
- add B-roll where useful;
- generate and correct captions;
- clean audio;
- add simple titles and visual treatment;
- watch the whole sequence;
- export the required format.
The editor matters, but the order of operations matters more.
Start before the timeline
Open the raw footage before opening the editor.
Remove obvious duplicates and files you know will not be used. Give important clips names that mean something. Put screenshots, graphics, music and camera files into separate folders.
This sounds trivial until a project contains thirty files called something like `IMG_4817` and `Screen Recording 2026-09-18`.
For a small project, a structure such as this is enough:
- Main footage
- B-roll
- Audio
- Graphics
- Exports
The point is not to build a production-management system.
It is to avoid searching for the same file three times while editing.
Build the rough cut before making it pretty
Put the main recording on the timeline and solve the story first.
Remove:
- false starts;
- repeated explanations;
- long pauses that do not add anything;
- sections you already know will not be used;
- obvious technical mistakes.
Do not worry about transitions, animations or perfect caption styling yet.
Structure first. Cleanup second. Decoration last.
At this stage the useful question is simple:
If somebody watched only this rough sequence, would the explanation make sense?
If not, decoration will not fix it.
Cut pauses carefully
Automatic silence removal can save time, but spoken rhythm is not the same thing as dead air.
A pause before an important sentence can be useful. A half-second hesitation in the middle of a technical explanation may not be.
Use automation to find likely cuts, then review the result.
Talking-head videos become tiring when every breath has been removed and every sentence touches the next one.
Speed matters. So does sounding human.
Add B-roll when it explains something
B-roll works best when it answers a question the viewer would otherwise need to imagine.
If you mention a dashboard, show the dashboard.
If you explain a physical product, show the product.
If you describe a before-and-after change, show the difference while the explanation is happening.
Adding generic footage simply because the talking head has been on screen for eight seconds rarely improves the information.
B-roll decision
- Useful B-rollShows the thing being discussed, hides an unavoidable cut, demonstrates a process, or gives context to a specific claim.
- Usually unnecessaryRandom stock footage, decorative clips unrelated to the sentence, or constant visual changes only to keep the screen moving.
Generate captions after the structure is stable
Automatic subtitles are one of the easiest ways to save time, but generating them too early creates extra work.
If you substantially recut the video afterwards, caption timing has to follow those edits.
Get the sequence reasonably stable first.
Then generate the first caption pass and check:
- names;
- product names;
- technical terms;
- punctuation where it affects meaning;
- line breaks;
- timing around cuts.
Captions are automation-friendly.
Proofreading is not optional.
Fix the audio before obsessing over visuals
Viewers will tolerate an ordinary-looking talking-head shot much longer than they will tolerate difficult speech.
Listen for:
- constant background noise;
- abrupt volume differences;
- clipping;
- music covering the voice;
- obvious room noise between edits.
Noise-removal tools can help with steady background sound. They cannot turn every poor recording into a clean studio track.
Start with understandable dialogue.
Then decide how much processing is actually needed.
Keep titles and effects restrained
For tutorials and client work, titles usually have a job:
- identify a person;
- name a section;
- show a URL or product;
- reinforce a key term;
- introduce a new step.
Once the title has done that job, it can leave.
The same applies to transitions.
A simple cut is usually enough unless the transition communicates a meaningful change in time, topic or location.
When desktop editing is the better workflow
A desktop timeline editor makes particular sense when you already have footage and want direct control over it.
- exact cuts matter;
- the project contains separate footage, audio and B-roll;
- you need manual control over timing;
- the project may go through several revisions;
- you need to inspect the entire sequence before export.
- the project begins as text or an idea rather than recorded footage;
- fast scene generation matters more than exact cuts;
- you want the software to create much of the first assembly.
See our workflow for turning a blog post into a short video for that different starting point.
Choose an editor that matches the size of the job
A professional editing environment can do far more than most small video projects require.
That does not automatically make a simpler editor better.
It means the decision should start with the work.
For tutorials, interviews, social clips and straightforward client videos, useful capabilities usually include:
- a conventional timeline;
- accurate trimming;
- multiple video and audio tracks;
- titles;
- captions;
- basic audio cleanup;
- B-roll and overlays;
- export controls;
- enough visual tools to finish the project without moving between several apps.
If that describes the work, an accessible desktop editor can be more useful than a larger system whose advanced features remain untouched.
One desktop option that fits this workflow
Movavi Video Editor is one example of this type of editor.
The current desktop product is built around a conventional timeline and includes tools for cutting, titles, audio and visual adjustments.
Its current 2026 feature set also includes automation such as automatic subtitles, noise removal, background removal and motion tracking.
Those tools fit the workflow described above because they assist individual editing steps rather than replacing the timeline itself.
That distinction is important.
The software still expects you to decide what the finished sequence should be.
Test an editor with a real project
A demo project is usually cleaner than your actual work.
Use your own files instead.
Take a project you genuinely need to finish and check:
- Can the editor import the footage and audio you normally use?
- Can you make precise cuts without fighting the interface?
- Are captions easy to correct?
- Can you organize B-roll clearly?
- Is audio cleanup sufficient for your recordings?
- Does the timeline remain manageable once the project grows?
- Does export support the resolution and format you need?
- Does the software remain comfortable on your computer?
This test tells you more than a long feature checklist.
Do one uninterrupted watch before export
Once the edit looks finished, play it from beginning to end without stopping to tweak anything.
Write down problems instead.
Look for:
- a cut that feels too abrupt;
- a title left on screen too long;
- one incorrect caption;
- music that becomes too loud;
- a repeated sentence;
- a B-roll clip that does not match the narration;
- a sudden change in audio level.
Then fix the list in one pass.
Constantly stopping during review makes it easy to lose the rhythm of the actual video.
Export for the destination, not for the editor
The final file should match where the video is going.
A website video, YouTube upload and vertical social clip may need different:
- dimensions;
- orientation;
- bitrate;
- duration;
- file size.
Keep a high-quality master when the project matters enough to reuse later.
Create delivery versions from that master rather than repeatedly compressing an already compressed export.
A compact editing checklist
Before calling the project finished:
- the story works without decorative effects;
- unnecessary pauses and repetitions are gone;
- B-roll explains rather than distracts;
- captions have been checked;
- spoken audio is easy to understand;
- music does not compete with the voice;
- titles serve a clear purpose;
- the whole sequence has been watched once;
- the export matches its destination.